The Call-In feature is a fantastic way to add audience interaction to your live streams, allowing viewers to dial in and be part of the conversation. While Evmux doesn’t have a built-in phone call integration, you can achieve this effect using a simple workaround with a web-based call service like Zadarma. Follow this guide to set up a seamless call-in experience in your Evmux live stream.
Step 1: Set Up a Virtual Phone Number
To allow viewers to call in, you first need a virtual phone number that supports web-based calling.
- Sign up for a Zadarma account (or any similar VoIP provider that offers web calls).
- Purchase a Virtual Phone Number that fits your audience’s region.
- Set up your call routing to ensure calls go through the web interface.
Step 2: Share Your Call Tab in Evmux
Once your virtual phone number is active and accessible via a web call interface, the next step is to bring it into Evmux.
- Open the Zadarma web call interface in a separate browser tab.
- Join your Evmux studio and start your live stream or prepare your scene.
- Use the “Share Screen” feature in Evmux and select the Zadarma tab.
- Place the screen share on the stage but keep it hidden behind another element (e.g., a background image, overlay, or another widget) so it’s not visible to viewers.
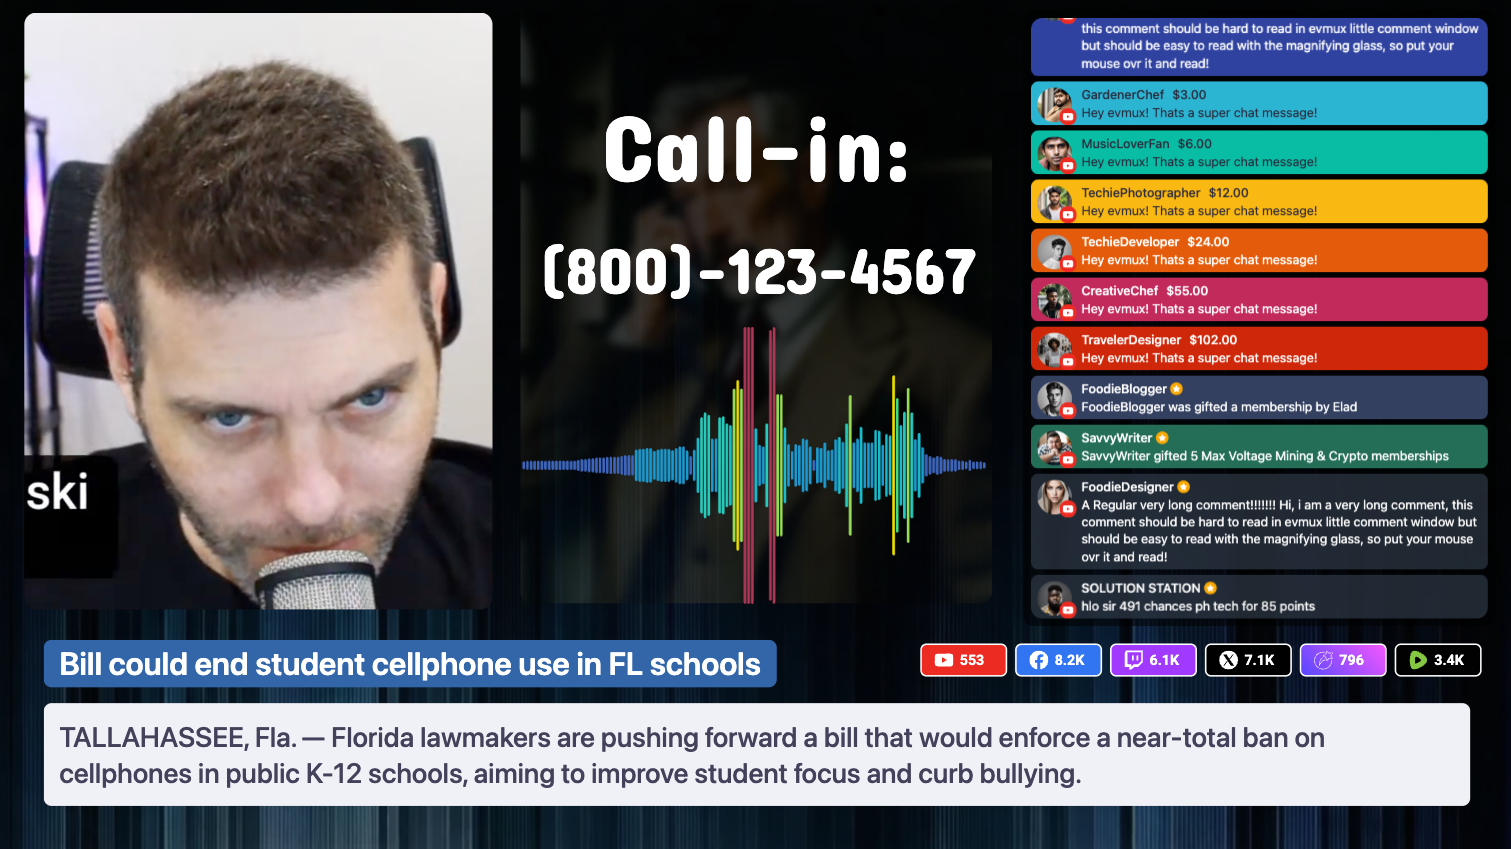
Step 3: Enhance the Call-In Experience with an Audio Visualizer
To make the call-in experience even more engaging, add an Audio Visualizer Widget in Evmux that reacts to the caller’s voice.
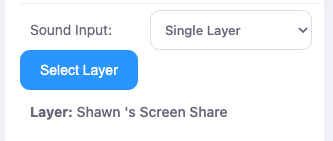
- Add an Audio Visualizer widget to your scene in Evmux.
- Connect the widget to the shared screen’s audio so that it reacts to the caller’s voice in real-time.
- Customize the visualizer to match your stream’s aesthetic, making it blend seamlessly into your live show.
Why This Works
- Seamless Integration: This method allows you to bring live phone calls into your Evmux stream without additional software.
- Professional Look: Hiding the call tab behind an overlay keeps your production clean.
- Dynamic Visuals: The Audio Visualizer gives viewers a visual representation of the caller’s voice, adding a polished touch to your broadcast.
Conclusion
With a simple VoIP service and Evmux’s built-in screen-sharing feature, you can bring a fully functional Call-In system to your live streams. By adding an Audio Visualizer, you enhance the experience, making it more interactive and visually appealing. Give it a try and elevate your audience engagement to the next level!
Try out our pre defined Call-In Scene! Use import code: 6e92e986-92cc-4b13-80d0-50fbefd0a36b (Dont forget to Connect the widget to the shared screen’s audio)