Facebook is the most popular social media platform, hosting approximately 3 billion users globally. Social media platforms are primarily for self-expression and connection, and Facebook’s massive user base makes it for getting your views across to a target audience.
On the one hand, you can express yourself on Facebook by posting a comment, captioned images, memes, or pre-recorded videos on your timeline or Facebook stories. However, data shows that the platform’s algorithm prioritizes live streams in users’ feeds over other posting options.
Even so, Hosting a Facebook livestream is only the first step toward getting engagement, predominantly comments, for your content. Below are tips on making your Facebook stream get more engagement through comments.
1. Schedule Programming
You can host a Facebook livestream on your persona, business, or group pages whenever you please. Additionally, you can choose to go live in Facebook stories or on your timeline. While you can use your discretion to host a livestream session on the fly, you’re unlikely to get more comments on Facebook livestream via an impromptu live session because your target audience is unaware.
So, consider scheduling your Facebook Live event and creating hype around it so that your target audience can be friends, customers, or group members. Creating hype around your planned Facebook live events allows potential participants to block their calendars and set reminders and purpose to attend the streaming event; you need a healthy number of attendees to promote engagement in your comment section.
The details to include in your pre-love promotional post include the event type (webinar, podcast, tutorial, Q&A session, event), time, date, estimated session duration, and guests, if any. Promoting your Facebook livestream and using the scheduling option on livestream applications like Evmux should improve Facebook stream comments for your posts.
2. Prepare
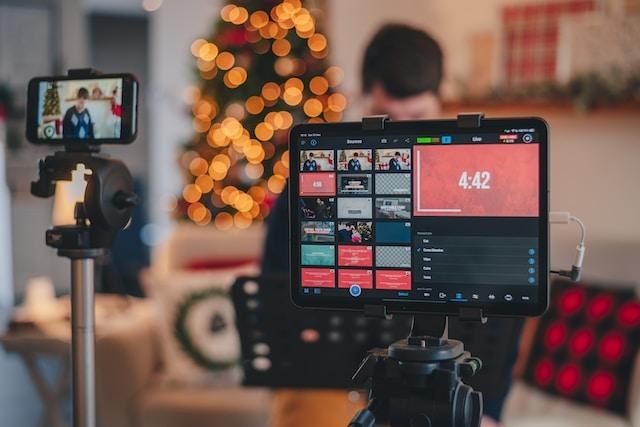
Facebook Livestreams have come a long way from boring monologues and lecture-like deliveries to lively events. Although Facebook’s algorithm prioritizes livestreams on feeds, you’re competing with millions of individuals, brands, and small businesses for your target audience’s attention. Therefore, take the time to create an eye-catching presentation that will attract and retain your audience’s attention.
You can prepare by creating engaging slides, videos, graphics, widgets, and other visuals to support your presentation. Livestream software, including Evmux, often has an editing studio that allows you to create high-quality videos beforehand.
Moreover, you can test your livestream using features like Evmux’s auto-switch to transition between scenes and handle any potential drawbacks that could distract your audience. A fully engaged audience will increase Facebook comments for your livestream.

3. Moderate The Comment Section
How you handle your live stream’s comment section can allow you to generate more comments on Facebook posts. Therefore, follow the tips below to increase the engagement level in your comment section.
First, respond to your audience’s comments in real-time to encourage further participation. You can appoint a community manager or the day to facilitate prompt responses while you host the livestream. Evmux has a LiveChat function to enhance the host/ community manager’s efficiency in resolving comments.
Second, shout out members of the audience with the most interesting, profound, or hilarious comments, depending on the event’s tone. You can pin the winning comments at the top of your livesteam’s comment section.
Third, consider including the most relevant comments on your screen. Evmux’s live editing tools and dynamic screening function for customized branding allow you to insert comments on your screen in real-time. Inserting audience comments in the livestream via dynamic screening and animated titles can boost engagement on Facebook by encouraging further participation in the comment section.
4. Include Activities To Cut Out Monotony
As highlighted earlier, lively Facebook livestreams attract more comments from audience members than those featuring a monologue-like delivery. Therefore, include activities throughout the session to cut monotony and encourage audience engagement.
For example, you can include an ice-breaker, digital whiteboards for presentations, and music that audience members can listen to for a few minutes before all attendees log in. Evmux has a collection of audio files (including sound effects) that you can incorporate into your livestream for scene-to-scene transition.
Besides ice-breakers, consider using quizzes and polls to recap talking points and gather audience members’ points of view on the topic at hand. Quizzes prompt the audience to participate in the comment section by posting answers. Moreover, Evmux integrates with polling software like Rumble, allowing you to post poll questions to your audience and receive and showcase the results in real-time.
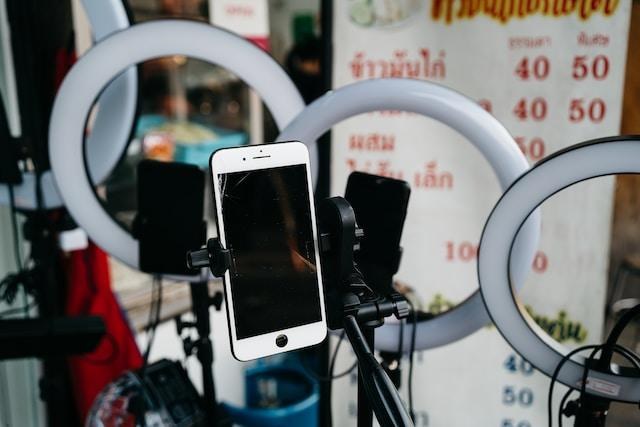
5. Showcase A High-Resolution Livestream
Low picture and audio quality can be distracting for your Facebook livestream audience, and some may even quit the presentation before completion. Fortunately, you need not worry about the cost of hiring an adept audio-visual production crew to deliver a crisp and stunning livestream experience for your audiences.
Evmux has an HD video-streaming function that allows you to elevate your livestream audience’s viewing experience with a simple webcam. A good viewing experience eliminates distractions, meaning audience members will grasp everything and have more input for the comment section.
6. Use Analytics
Knowing your audience is crucial to a successful livestream and an active comment section because it allows you to generate a content structure that addresses users’ pain points. Analytics allows you to gather audience demographic information, including location, gender, age, values, and interests.
Evmux has an analytics function that allows you to consider such details when preparing your presentation. Moreover, the web-based livestream software will enable you to reuse previous streams as templates or presets for future streams based on performance.
Additionally, you can use Facebook stream metrics to monitor the audiences in real-time. The metrics include viewer reach and engagement, allowing you to switch up your presentation to generate more comments.
7. Go Live With Guests
Going live with guests is the livestream equivalent of guest posting in blogs, and Facebook allows you to go live with up to three individuals. The advantage of going live with guests is that they introduce their followers to your page, increasing engagement in your comment section several fold. Evmux features like a speaker room, push-to-talk (for editors and speakers), and automated transition simplify guest hosting.

8. Ask For Feedback
The feedback generated via a Q&A session is invaluable in boosting engagement in your livestream’s comment section. Moreover, you can use the generated feedback to improve your understanding of audience needs and incorporate any relevant input in future livestreams.
Conclusion:
As highlighted above, Facebook prioritizes meaningful livestream content that sparks conversation. However, any piece of content is only as effective as its delivery. Therefore, follow the tips above to optimize your Facebook livestream delivery and, by extension, engagement via comments.